To take advantage of the custom list export to VTEX promotions, we need you to create the fields we are going to use to identify the customers to send the promotion to.
These fields act as a tag, and for every promotion that you create (from a specific list), you will choose to which tag of customers the promotion will be created.
You should create as many fields as promotions you want to have active at the same time. Then, when you're creating a promotion, you'll choose between the tags you created, so we can tag that group of customers, and direct the promotion to that tag.
We recommend the tags to have generic names, because you want to be using them repeatedly, for different lists and different promotions.
Only if there's a list that is of particular interest to you, and you think you'll be creating promotions for this list regularly, it makes sense to create a field specifically for that list.
We recommend to create at least 6 fields, as it takes some time for VTEX to update and reindex your customer catalog every time you make changes to it, such as adding or removing fields.
Creating fields
Ok, so hands on to create those so-talked-about fields.
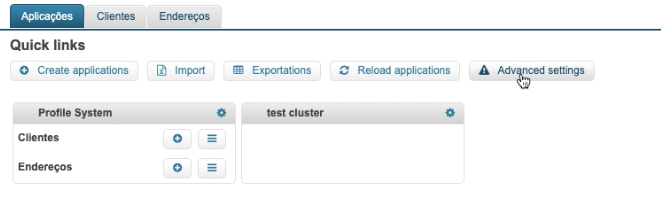
- Log in to your VTEX Master Data admin panel, and under Aplicações, click on Advanced settings.
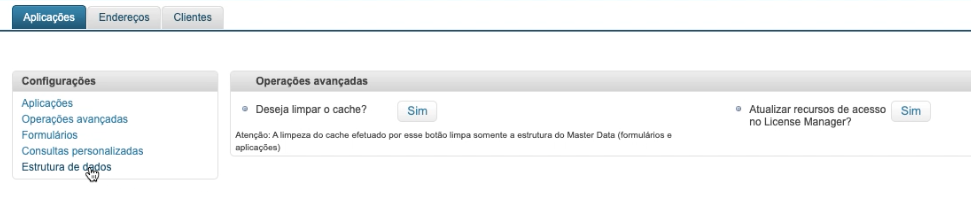
2. Click on Estrutura de dados (data structure). You will be redirected to a new window
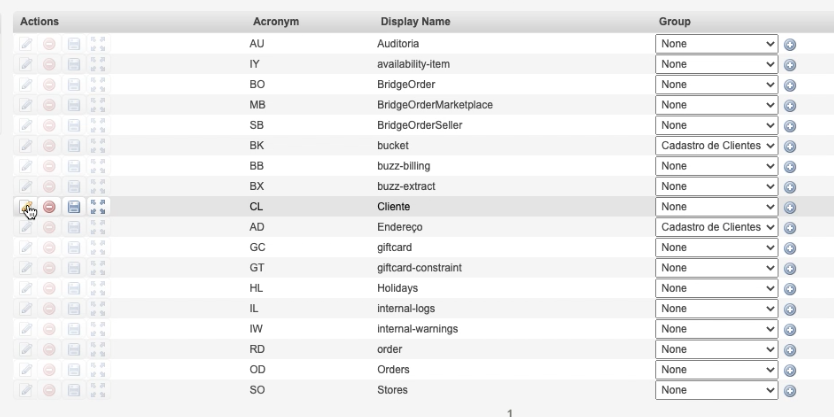
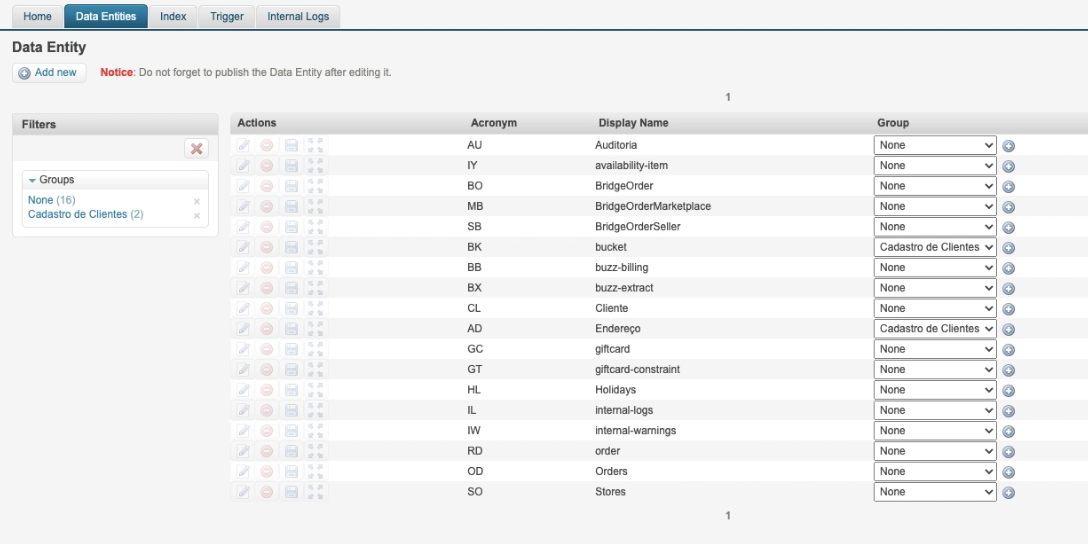
3. On the new window, click on Data Entities, and find de Cliente (customer) data entity. The Acronym is CL. Click on the edit button at the far left.
4. You will see all the fields that already belong to your Client structure. Leave all of them alone, and create there the new fields. You will have to set 3 things for them: Name (for us to identify the field. Please don't use special characters not spaces, only numbers and letters), Display Name (here you can put a short description of the field and use any characters you want), and Type (this is the kind of data that will be stored in the field: it can be numbers, letters, etc. We will ask you to choose the type "boolean", which is a data type that only support "true" or "false" as a value.

5. Once you've created all your fields, click on Save. You will be redirected to the previous screen, where you saw all the data types.
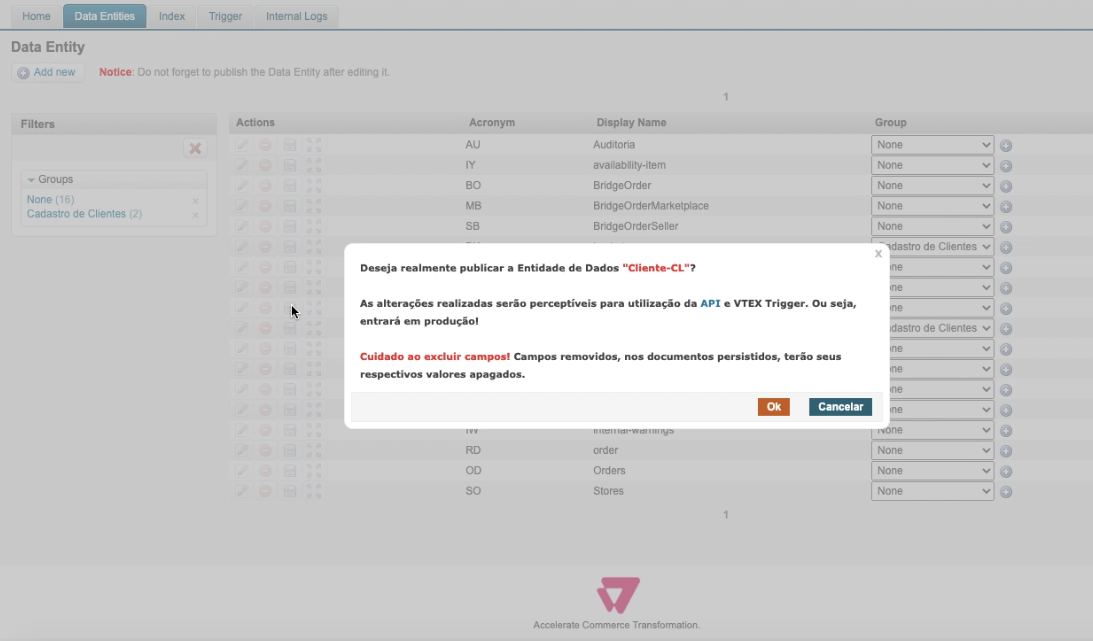
6. Click on save. You will be asked to confirm you want to publish the changes, as they will go straight to production. The message also warns you about not deleting fields. Make sure when you click this button, you have NOT changed any other fields, but only created new ones.
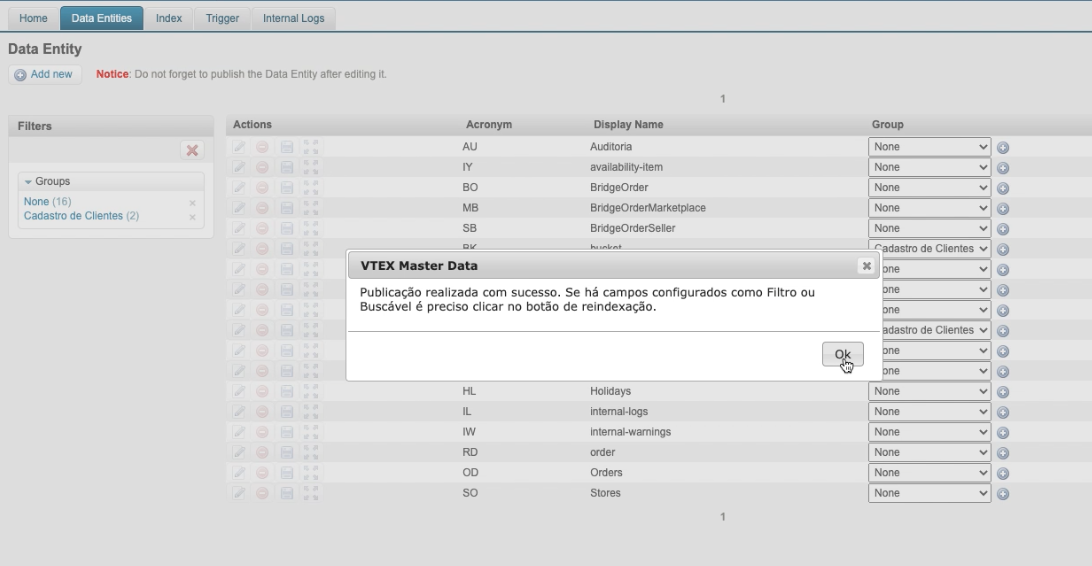
7. Now that we have published the changes, a text dialog will appear saying that if you want these fields to be searchable (Buscável) or a filter (Filtro) you need to click the re-index button.
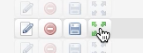
As we WILL be filtering through these fields, we need to do this. So close the dialog and then click on the reindex button for the Client data entity. This is the 4th button on the right, with 4 green arrows pointing outwards from the center

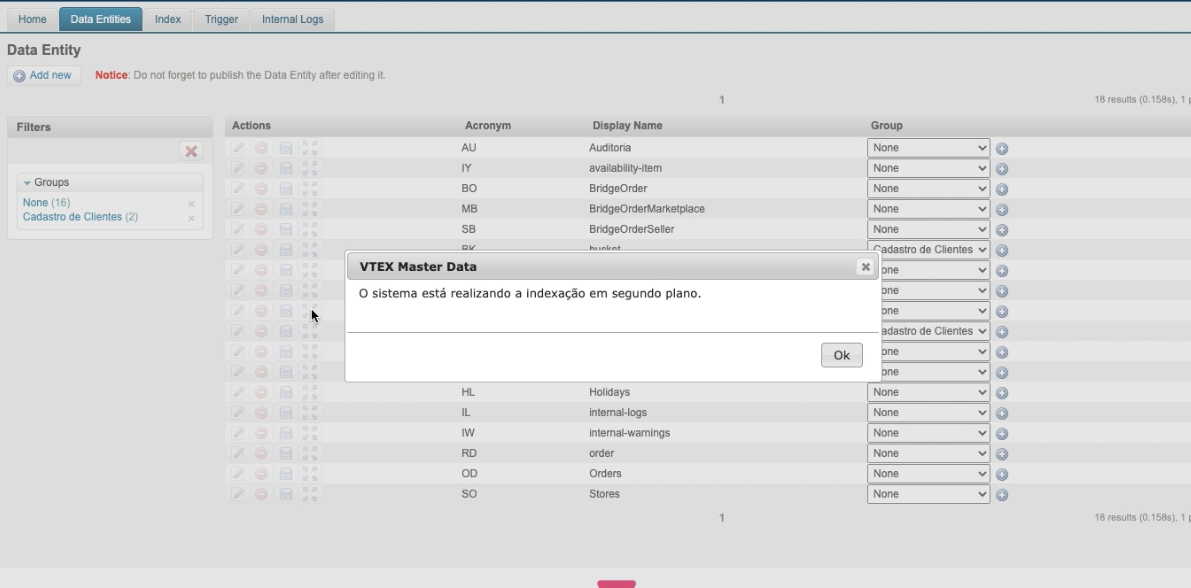
8. Done! You will get a message that confirms the system is reindexing on the background
Now you're ready to create promotions specifically for the fields you created! What are you waiting to start working on your next marketing campaign?